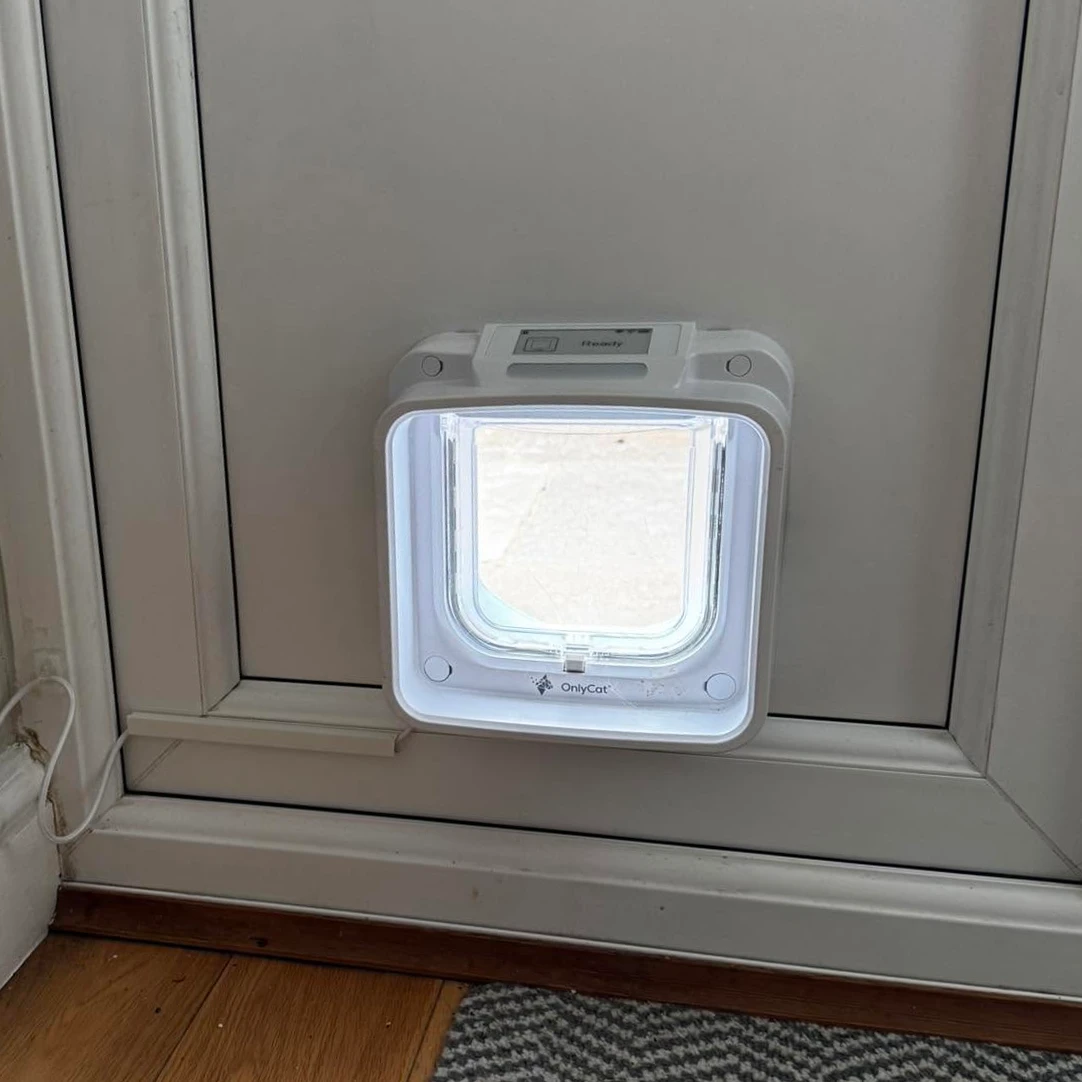
Installation

At home
in your home.

A door, a wall or glass. A new opening or your existing cat flap, ready for an upgrade. We’ll help you work out the details.

Find your installation

Before you fit

Connect first. Fit with confidence.

Power up your OnlyCat and test its Wi-Fi connection where you plan to fit it, before making permanent changes.

Connect and test your OnlyCat

Made for different homes

Where will yours go?

Doors

Fit into a suitable timber or panel door, or replace many existing cat flaps. Check the opening and plan the power route before you start.

Metal in or around the opening can affect microchip reading. Ask us about your door if you are unsure. Read the doors guide
Walls

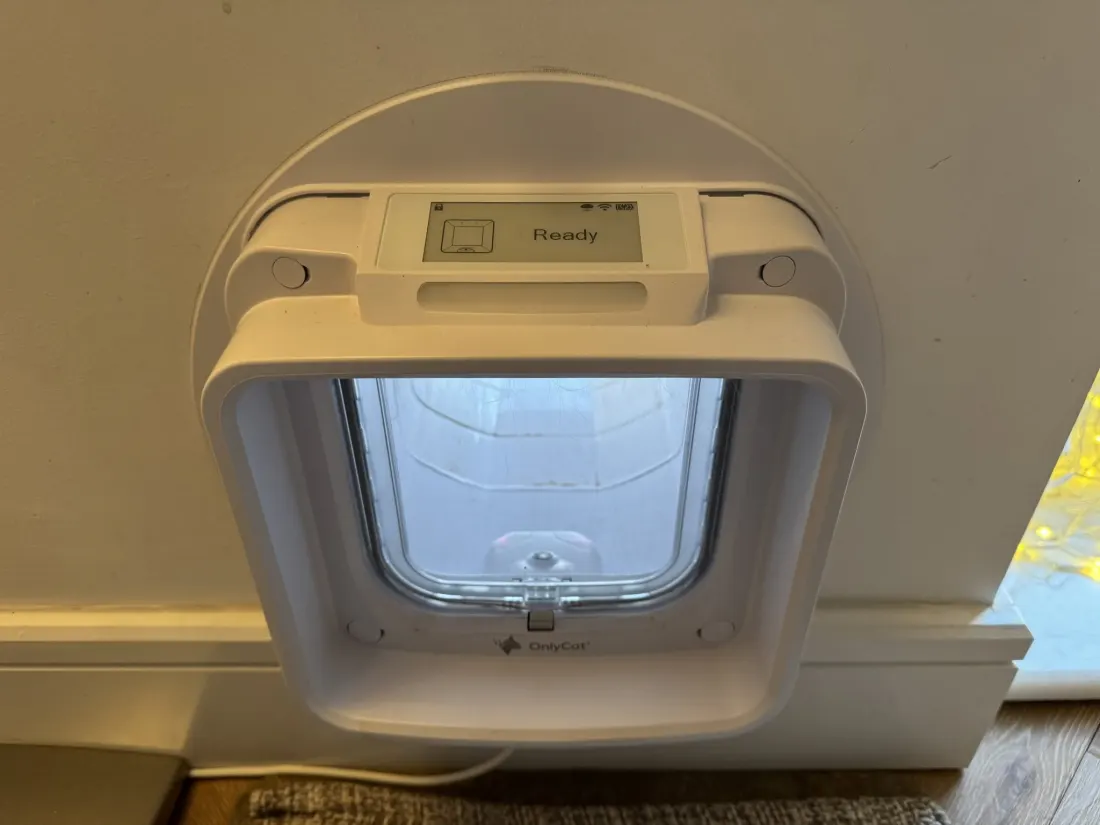
Tunnel extensions bridge the depth of the wall. Mounting adaptors give the installation a neat finish on both sides.

Check the wall construction, tunnel length and power route. The guide explains assembly and sealing. Read the walls guide

Glass

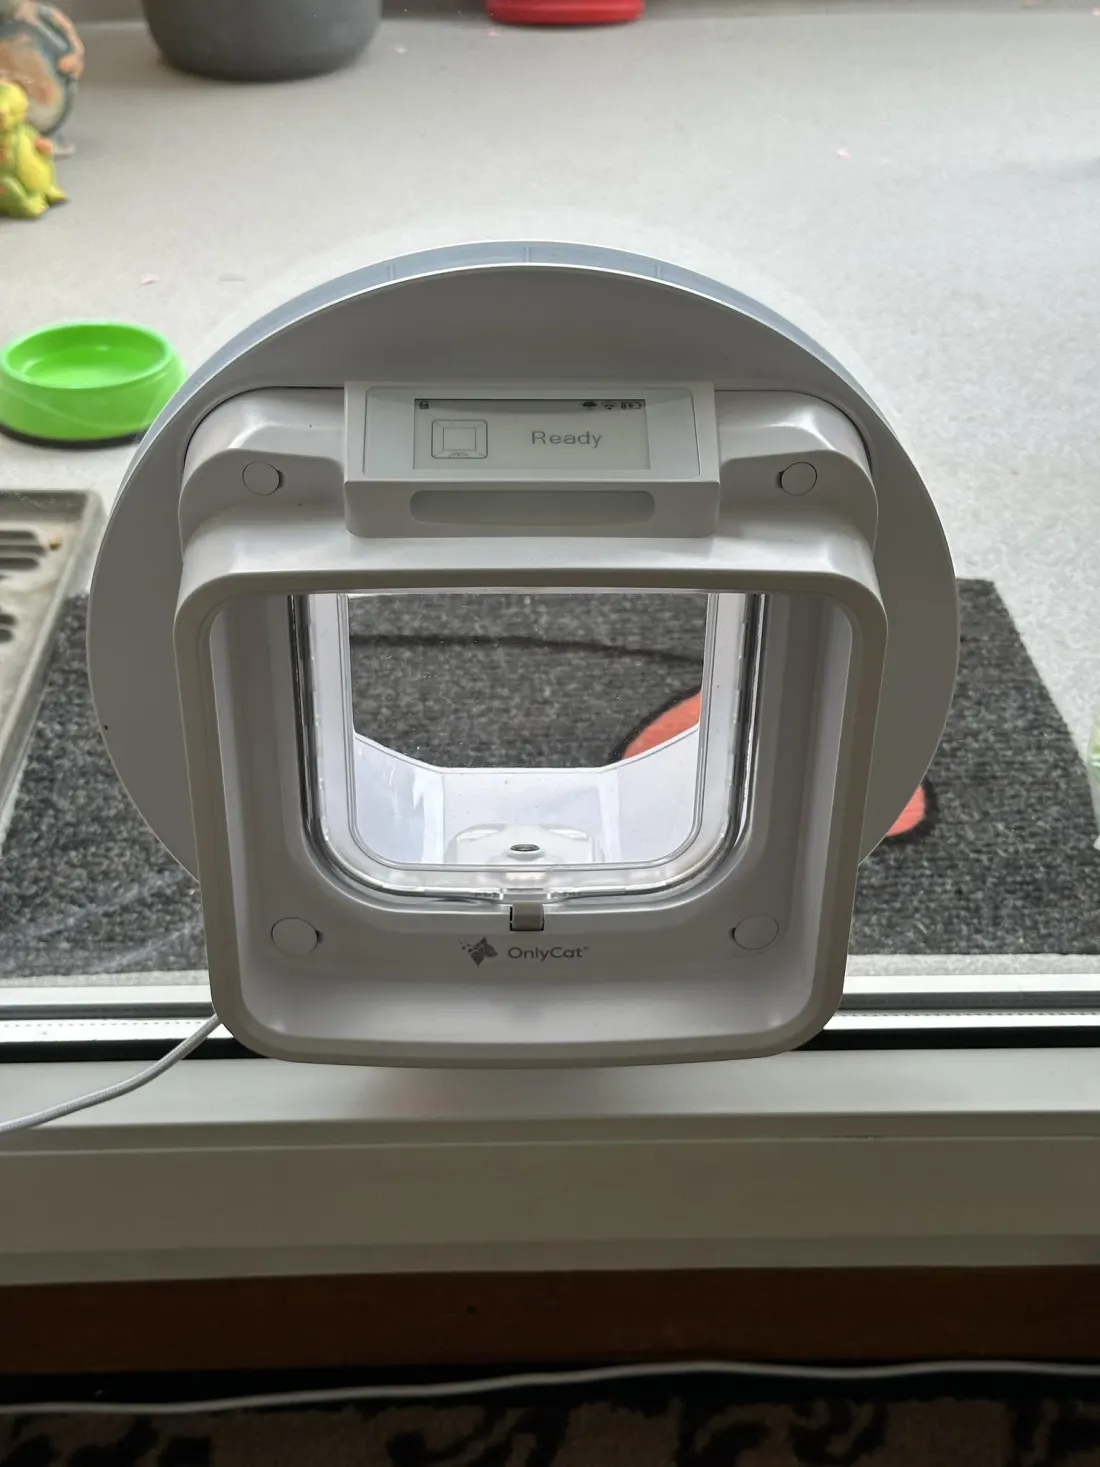
OnlyCat can be fitted into suitable glass using a mounting adaptor. A glazier can advise on the correct panel and prepared opening.

Do not try to cut toughened glass. Discuss your installation with a glazier before ordering a replacement panel. Read the glass guide

A familiar fit

Upgrade the flap.
Keep the doorway.

OnlyCat is a drop-in swap for many existing cutouts and cat flap brands. Check your opening against the dimensions, then choose any mounting accessories on the product page.

See dimensions and specifications
Standard rectangular cutout
165 × 172 mm
Standard circular glass cutout
212–260 mm
Need an adaptor?
Recommended when you select your product.
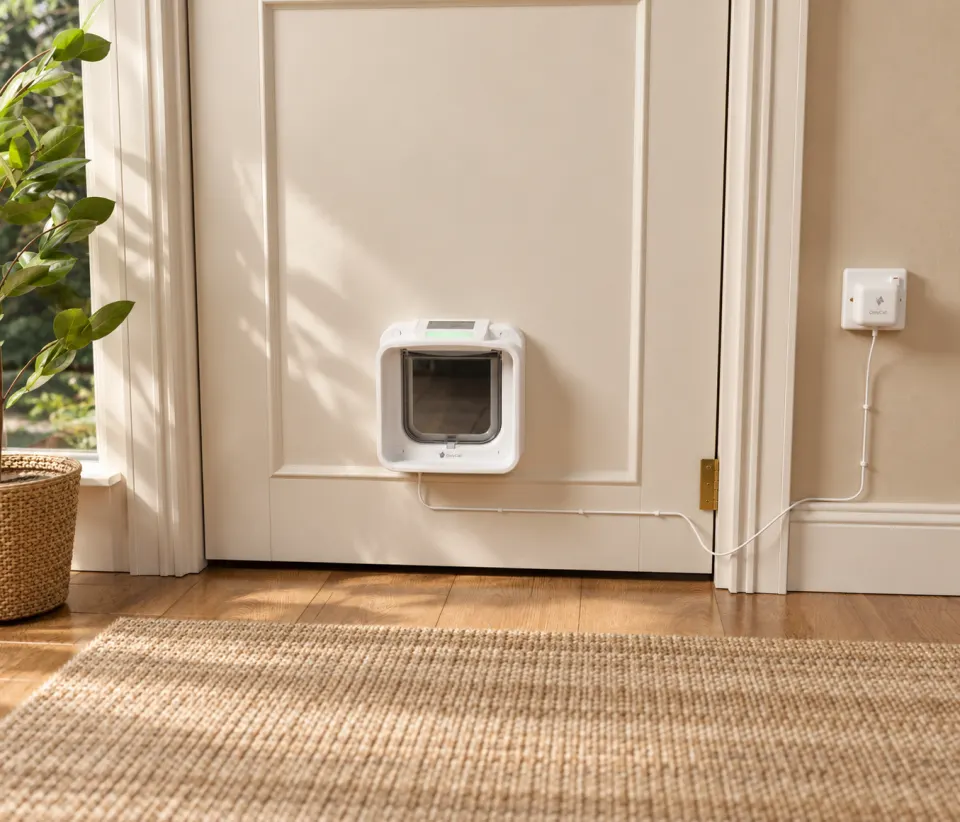
The OnlyCat power cable clipped along a door and plugged into a wall socket

Plug in. Power on.

One cable.
A lasting connection.

Reliable mains power, with no batteries to replace. Your OnlyCat comes with a mains adaptor and a 3 m cable. Plan a neat route to a socket, with enough slack for the door to open and close freely.

Longer cables and extensions are available to order. Wi-Fi is needed for setup and connected app features.

See cable routing advice

The finishing touches

A neat route.
A secure connection.

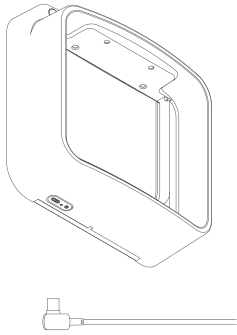
Underside of OnlyCat showing the L-shaped USB-C plug connecting to the power port

Connect underneath.

Inside your home, insert the L-shaped USB-C plug into the port underneath OnlyCat. Point the cable towards your socket, left or right.

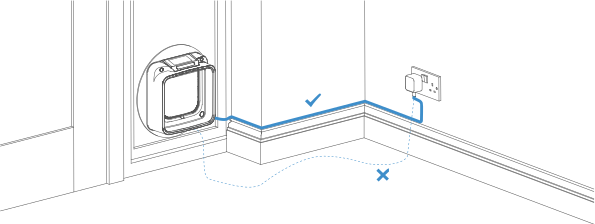
Cable secured along the skirting board to a socket, with a loose route across the floor marked to avoid

Follow the room’s edges.

Secure the cable along skirting boards or walls with clips or trunking. Keep it clear of feet and leave enough slack for the door to open and close freely.

Power & safety guidance

What’s in the box

A fresh start.
Ready to unpack.

Your OnlyCat and the essentials to get it powered up. Choose mounting accessories to suit your home.

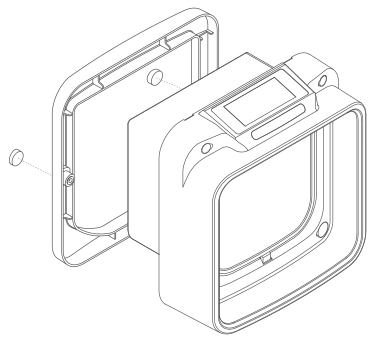
Exploded drawing of the OnlyCat main body, external fixing frame and two screw caps
OnlyCat, inside and out. Main body, external fixing frame and two screw caps.
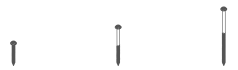
  • Three supplied screw lengths

    Fixings for your fit.

    Two screws in each length: 30, 50 and 70 mm. Your installation guide explains which to use.

  • Coiled USB-C cable

    Room to reach the socket.

    A 3 m USB-C power cable is included by default. Longer cables and extensions are available as add-ons.

  • Mains power adaptor

    Power, included.

    A mains power adaptor, with plug style for your destination.

Keep these handy

The details.
Within reach.

The full manual and printable cutout template, ready when you need them.

Once it is fitted

Ready to connect?

Make it yours: introduce your cats, choose their house rules and bring your household into the app.

Set up the app and your cats